
Découvrez et soutenez des artistes indépendants. Explorez l’art écologique, les créations artisanales et des histoires inspirantes.
Behind the Scenes: What It Really Takes to Paint a Mural
Learn how to paint a mural step by step—from client talks to final brushstroke—in this behind-the-scenes guide for artists.
How to Paint a Mural: A Behind-the-Scenes Look into the Artistic Process
Painting a mural is far more than just applying color to a wall. It’s storytelling on a grand scale — a fusion of creativity, planning, physical endurance, and technical skill. For many artists, mural painting is both thrilling and demanding, filled with challenges that rarely show up in the final Instagram photo.
In this behind-the-scenes look, I’ll walk you through what mural painting really involves, from the first conversation with a client to the final coat of varnish — and everything in between.
Step 1: The First Meeting – Listening Before Painting
Every mural begins with a conversation. Whether it’s with a homeowner, business owner, or public art organization, understanding the client’s vision is crucial. Is the mural meant to inspire, educate, promote a brand, or simply beautify a space? These early discussions are your chance to align your artistic vision with the client’s goals.
Many artists sketch out multiple concept drafts or use digital tools like Procreate or Photoshop to create mockups. This helps visualize how the mural will integrate with the surrounding architecture and lighting.
Pro tip: Always clarify expectations on both sides, including deadlines, budget, artistic freedom, and maintenance responsibilities.
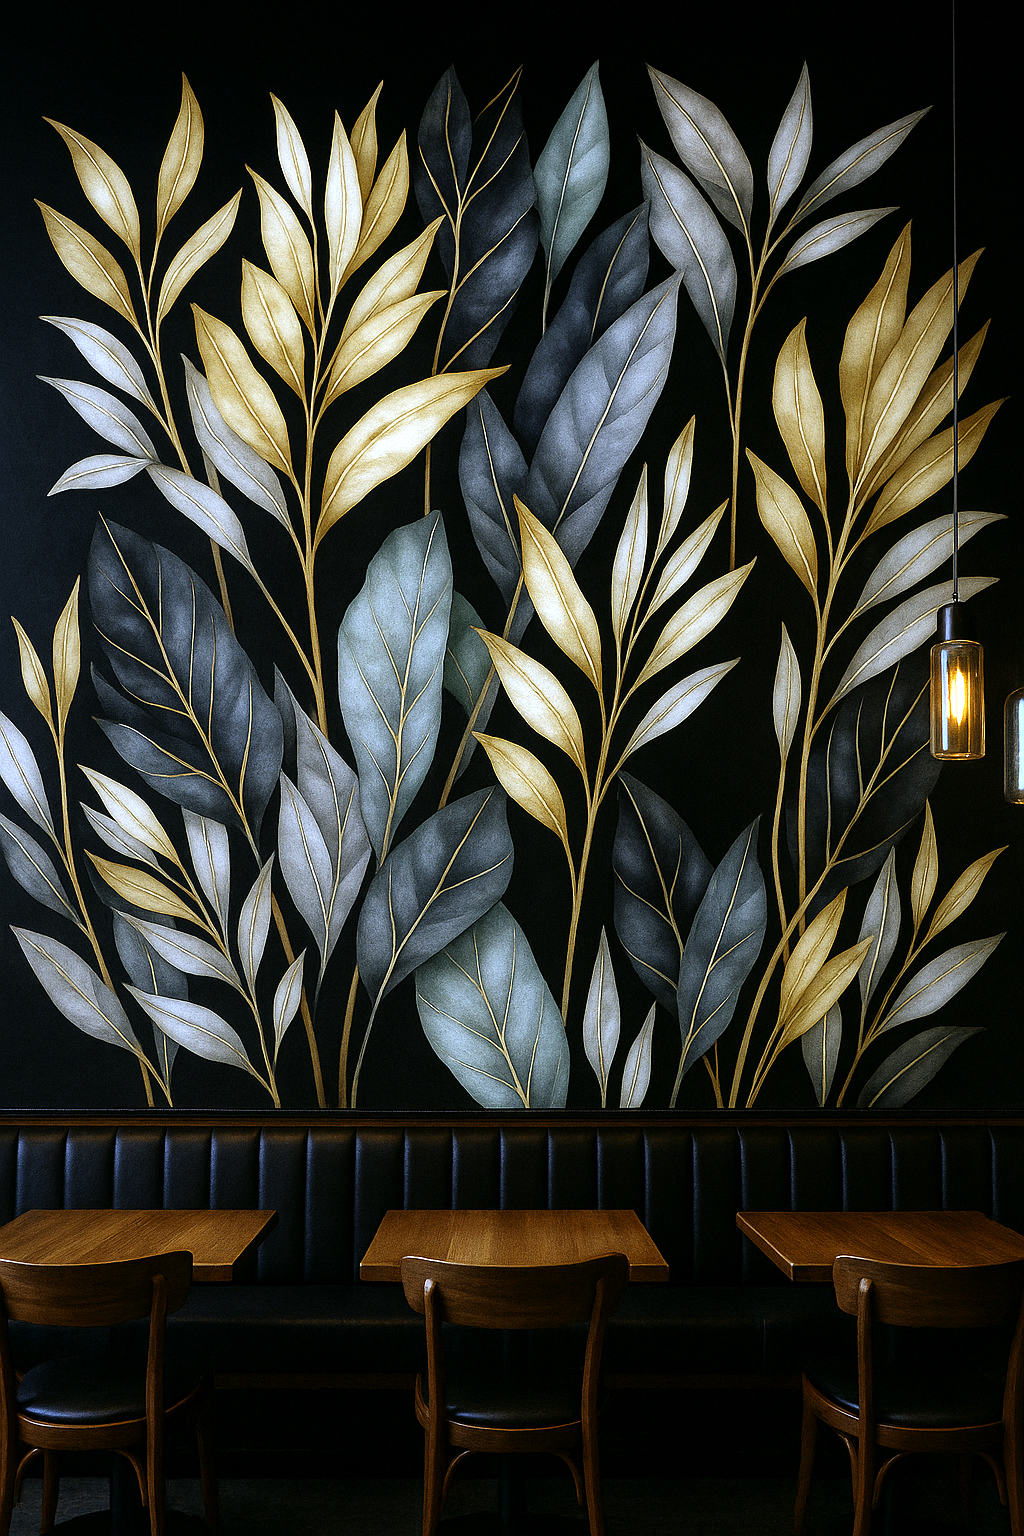
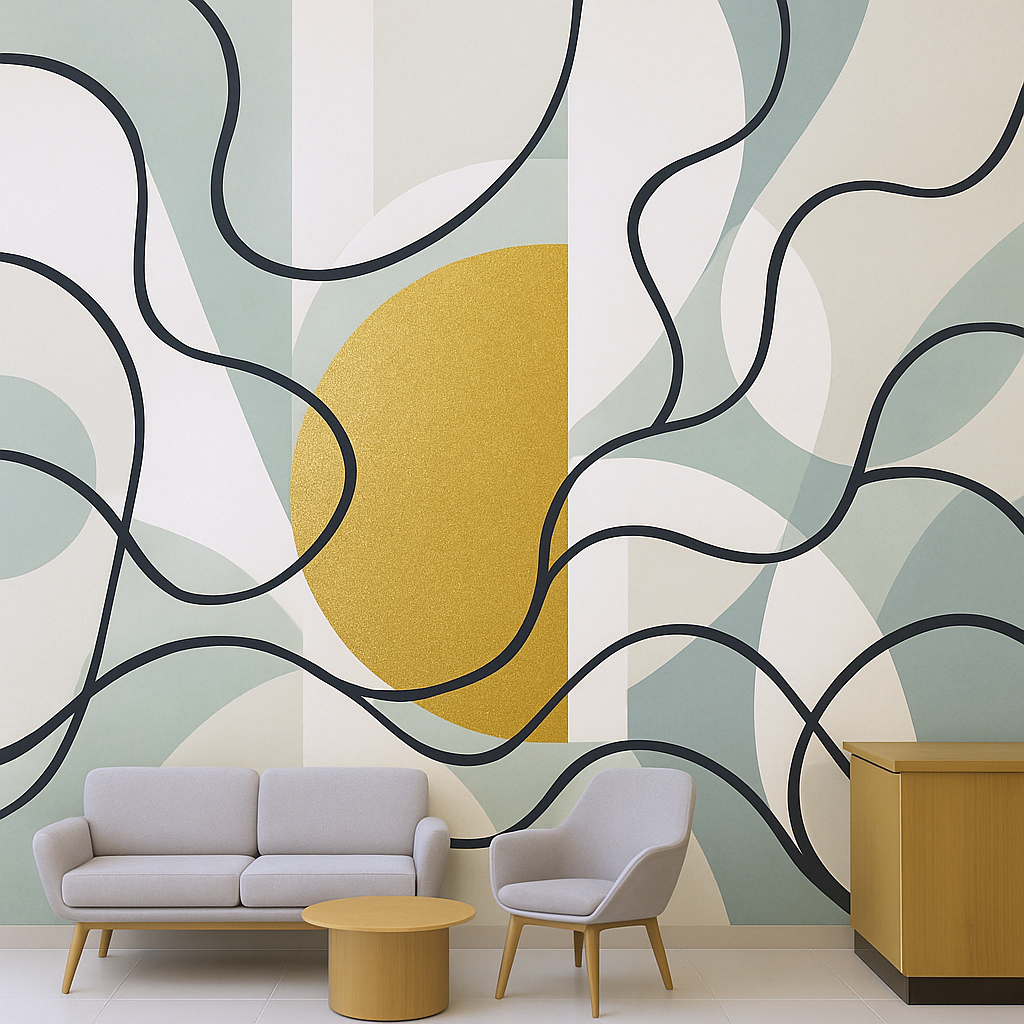
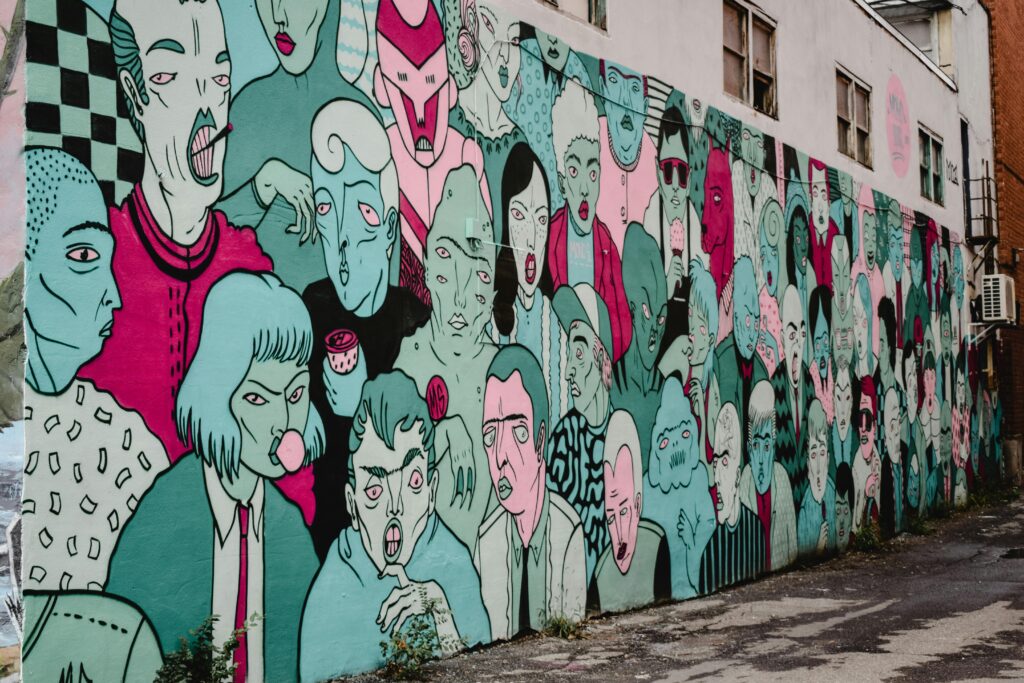
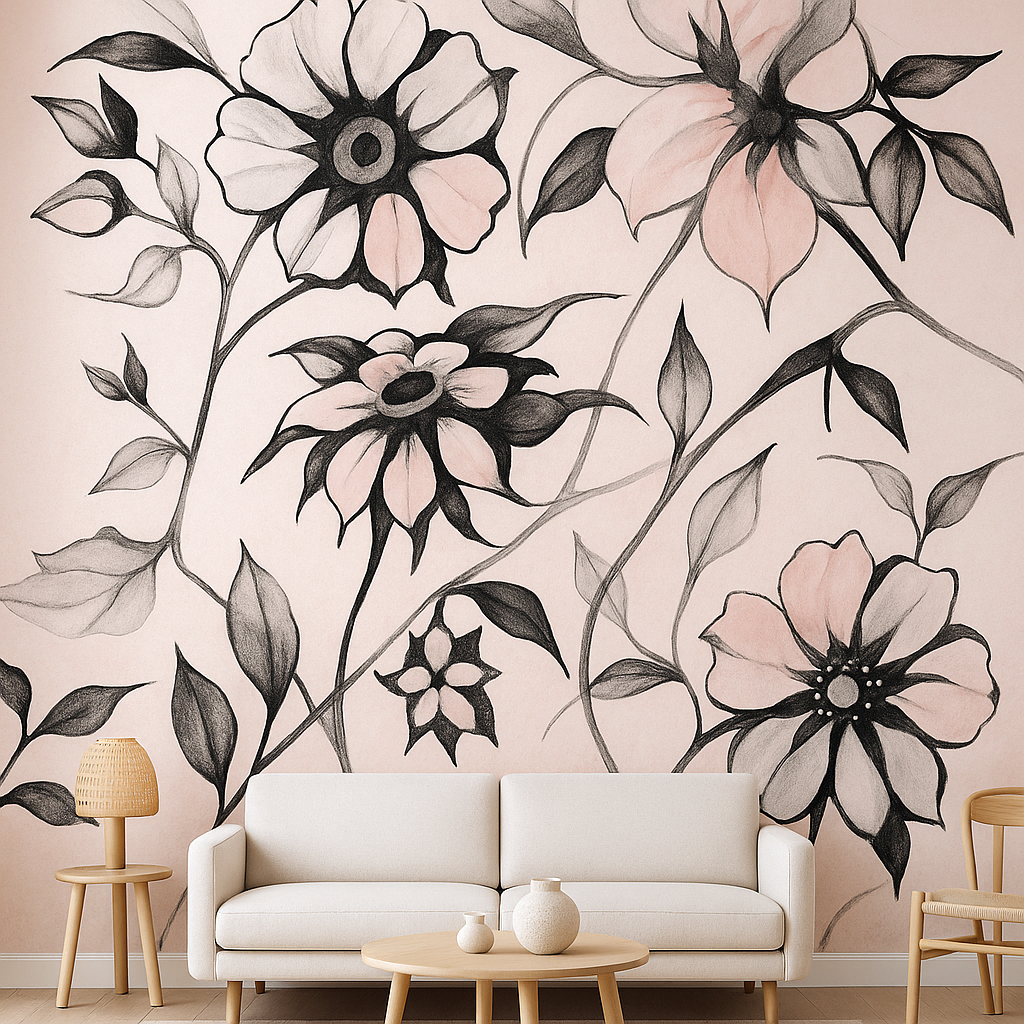
Step 2: Choosing the Theme and Color Palette
Choosing a mural theme is both an emotional and practical decision. A mural should connect with the space it inhabits — a jungle scene might fit a child’s room, but a corporate lobby may require something more abstract or brand-aligned.
Color choices can influence mood dramatically. For indoor walls, you’ll want colors that match the room’s lighting. For outdoor murals, sunlight and weather will affect visibility and longevity.
Some artists, like Taiwanese landscape painter Su Yu-Xin, even create their own pigments using natural materials to achieve unique hues.
Step 3: Surface Preparation – The Unsung Hero
Before you pick up a brush, the wall must be clean and structurally sound. This often includes:
- Scraping off loose paint or plaster
- Washing the surface with mild detergent or pressure water
- Patching cracks or holes
- Applying a primer suitable for the wall material
Skipping this step can ruin your work weeks later. Primer not only helps paint adhere better but also ensures more vibrant, long-lasting colors.
For outdoor murals, consider anti-mold treatments and weatherproof primers.
Step 4: Transferring the Design – Grid, Projector, or Freehand?
You have three main options for transferring your sketch to the wall:
- The Grid Method – divide your design and wall into equal squares. This gives control and precision.
- Projection – ideal for large, detailed murals. It’s fast, but you need electricity and the right weather/light conditions.
- Freehand – the most flexible and expressive method, used by experienced muralists.
Whatever method you choose, always step back frequently to assess the proportions from a distance.
Step 5: Choosing Paint and Medium
Your paint choices will shape not only the look of the mural but also how long it lasts. Here are common options:
- Acrylic paints – perfect for interior murals; fast-drying and vibrant.
- Masonry paints – ideal for exterior walls; weather-resistant and durable.
- Spray paint – used for urban/street art aesthetics or quick shading.
Also consider:
- Brushes – soft flat brushes for blending, round brushes for detail, wide brushes or rollers for backgrounds.
- Scaffolding or ladders – for high walls, ensure they’re stable and certified.
- Sealants – UV-protective varnishes will preserve your work from fading or moisture.
According to MuralForm, using high-quality paint and safety gear can make or break a mural project.
Step 6: The Actual Painting – Time, Layers, and Patience
Now comes the fun part — and the most labor-intensive.
Time estimates vary based on size, complexity, and surface. A small indoor mural might take 1–2 days. A 10-meter public art piece can take weeks, especially if working solo.
The process usually looks like this:
- Underpainting – blocking in general shapes and background color.
- Layering – slowly building up highlights, shadows, textures.
- Detail work – the final, often most satisfying stage.
- Corrections – fixing proportions, smoothing blends, enhancing contrast.
Keep snacks, water, and a break schedule nearby. Mural painting is physically demanding — your arms will feel it!
Step 7: Managing Challenges – Height, Weather, and Deadlines
Large-scale painting means real-world obstacles. Here’s what to keep in mind:
- Working at height – always use harnesses or secure scaffolding.
- Sun exposure – can bleach colors or create glare while working.
- Humidity – can delay drying times or cause paint to peel.
- Noise and interruptions – especially in public or commercial settings.
Be prepared for delays. Always buffer extra time in your schedule and communicate updates with your client.
Step 8: Finishing Touches and Aftercare
Once the painting is complete, apply a protective varnish. For outdoor murals, a weather-resistant sealant is essential. Indoors, a UV-filtering varnish will help maintain color fidelity.
Also advise your clients on:
- Cleaning tips (dry cloth or damp sponge)
- Avoiding abrasive cleaners
- Touch-up possibilities if damage occurs
Encouraging clients to appreciate and maintain the mural keeps your reputation glowing.
Bonus Tips for Artists
- Take regular photos for your portfolio and social media.
- Document the mural’s progress — people love behind-the-scenes posts.
- Use hashtags like #MuralArt #WallPainting #BehindTheBrush to expand your reach.
Some muralists even offer QR codes integrated into their murals linking to their portfolio or story — a great way to blend tech and art!
Recommended Resources
Want to dive deeper into mural techniques? These sites offer rich guidance:
- How to Paint a Mural – Skillshare Blog
- Art is Fun – Mural Painting Techniques
- Painting Safely – Mural Form
- University of Utah – Mural Making Process
Final Thoughts
Mural painting is more than just art — it’s an experience. It requires strength, planning, trust, and a love for large-scale storytelling. Whether you’re painting a nursery wall or transforming a public building, the impact of a mural lasts far beyond the final brushstroke.
As muralists, we don’t just paint walls — we transform spaces, tell stories, and leave marks that invite people to pause, reflect, and dream.
If you’d like to share your own mural journey or feature your work on Nisuris Creativa, we’d love to hear from you! Let’s bring more walls to life — one story at a time.
